How to Make a Fast and Reliable Emergency Roof Repair

Making an emergency roof repair can be fast and straightforward using our specially-developed liquid product. Whether you need to make a temporary repair until the professionals arrive or a longer-term repair to a crack or tear, PermaRoof’s Emergency Roof Repair can stop a leak in its tracks.
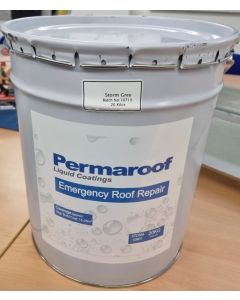
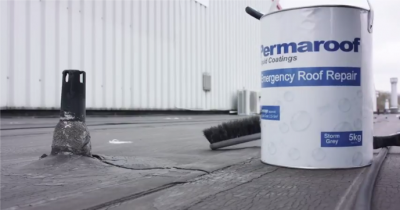
Fast and easy to apply in a single coat, PermaRoof Emergency Roof Repair is available in 20kg tins. Buy online here.
The importance of acting fast when you have a leaking roof
By the time you notice the signs of a roof leak, the chances are it is at least a few days old. Water can track through the smallest area of damage; even a tiny hole, and It is important to act as quickly as you can to minimise potential damage.
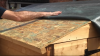
If left, a leaking flat roof can result in damage to the roof deck and timbers, insulation and eventually, interior decorations and any goods stored inside. These types of issues become major repairs over time and the costs much higher to address the problem.
This is why swift action is necessary, whether you call an emergency roof repair specialist in or handle it yourself.
What is PermaRoof Emergency Roof Repair?
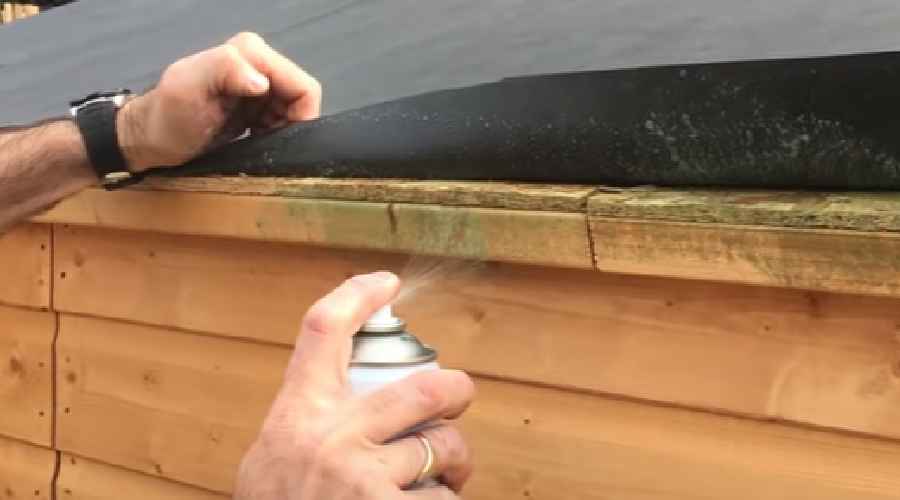
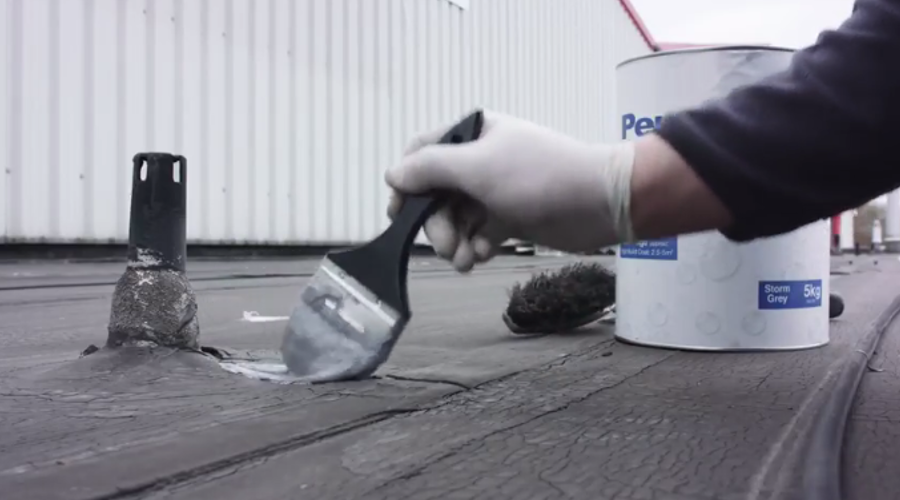
PermaRoof Emergency Roof Repair product has been developed to provide a fast and reliable approach to handling roof leaks on almost any substrate. Designed to cure quickly and seal the area in a single coat, it forms a watertight seal straight from the tin using an ordinary paint brush.
Emergency Roof Repair is a liquid acrylic solution that contains fibres to provide additional strength to the repair. It can be stored in a cool, dry place for later use and is the perfect product to keep handy if you’re a homeowner with a flat roof or two.
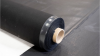
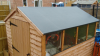
Suitable for almost any substrate, the solution is ideal for repairing cracks in concrete roofing, metal, felt or membrane, creating a seamless, reliable seal, watertight straightaway.
Application guidelines
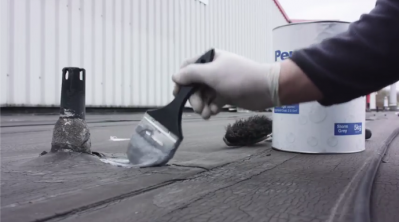
Application of the product is straightforward and ideal for a confident DIYer with skills. We recommend that you wear gloves and other safety clothing to protect the skin and eyes from splashing. It is always advisable to follow safety measures for working at height and check ladders to ensure that they are in good condition.
You’ll need just a few basic tools - all of which can be found in the toolshed or broom cupboard:
- Large paintbrush
- Household broom or handheld brush
- Scraping tool (if needed for a crack repair)
- Sharp work knife (if needed to cut away torn felt or membrane)
- Stirrer (such as those that fit onto a power drill)
- Gloves and eye protection
Preparation of the repair site is important and doing this correctly will ensure the best results. Cut away any loose roofing material but take care not to cause any further damage.
Scrape out debris from any cracks or gaps so that you have full visibility and access to the area. Ensure the area is clean and fully assess the repair.
Stir the product in the tin using the drill attachment for several minutes until fully mixed, then apply to the affected area with a full paintbrush.
If, during assessment of the repair you are concerned that there may be more serious damage to the roofing or timbers, you can use the product to protect and seal the area while you wait for a more complex repair to be carried out by a trade roofer.
We provide full instructions with our product, but sometimes it is easier to watch someone else applying the product before you decide if it’s for you.
Watch the video demonstration of Emergency Roof Repair installation to see how easy it can be.
About the Author

Related Posts
What to Do If You Need an Emergency Roof Repair
How to DIY an Emergency Roof Repair

Fast and Easy Roof Repairs with Liquid PU
Flat Roofing vs Warm Weather: What could possibly go wrong?
Related Products