Shed Roofing Made Easy at PermaRoof UK

Shed roofing can be fiddly and time-consuming for many homeowners faced with this all-too-typical routine maintenance job. If you find yourself yet again looking for shed roofing felt, it may be time to try a new approach this year.
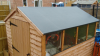
EPDM membranes make light work of shed roofing and, even better, last a lifetime. With a 50-year service life expectancy and a lifetime guarantee, RubberCover EPDM from Elevate offers a chance to reroof your shed for the last time.
Complete shed roofing kits
Revolutionising this DIY sector, EPDM is available in complete shed roofing kits at PermaRoof UK. Introduced some years ago, our EPDM shed kits remain among the top sellers, fast and easy to fit and perfect for DIY.
We stock a range of shed roof kits in standard shed sizes to remove another layer of complexity – quantifying the materials.
We stock the following sizes or can tailor you a bespoke kit if you need a non-standard size – minimum 8m2):
- Shed kit 1 - 6' X 4' (2m x 1.7m)
- Shed kit 2 - 7' X 5' (2.4m x 2m)
- Shed kit 3 - 8' X 6' (2.7m x 2.3m)
- Shed kit 4 - 10' X 6' (3.3m x 2.3m)
- Shed kit 5 - 10' X 8' (3.4m x 3m)
You’ll find everything you need in your kit:
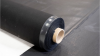
- Elevate RubberCover membrane (1.14mm standard grade) – cut to size and including overhang
- Sufficient aerosol spray adhesive
- Bond and Seal sealant
- Full installation instructions
- Lifetime membrane warranty
Browse our range of shed roof kits and buy online.
Installing EPDM on a shed roof
The installation process for EPDM is fast and straightforward, well within the capabilities of a skilled and confident DIYer. For the best results, start with some solid preparation work to form a base for long-lasting adhesion:
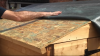
Unpack the shed roofing kit and check the contents. Unfold the membrane and lay out to rest for 30 minutes. This will allow any packing creases to dissipate.
Completely remove the old shed covering and clean any residual dirt and grease from the timber roof deck. Use a suitable, non-solvent degreaser or pressure washer if you have one. Allow to dry completely. Remove the facing timbers and set these aside to reattach later (new timbers are not included in your EPDM kit) or replace with new ones.
Lay out the membrane over the shed roof in the correct position and leaving the overhang. Lay half over the other side and expose half the shed roof deck.
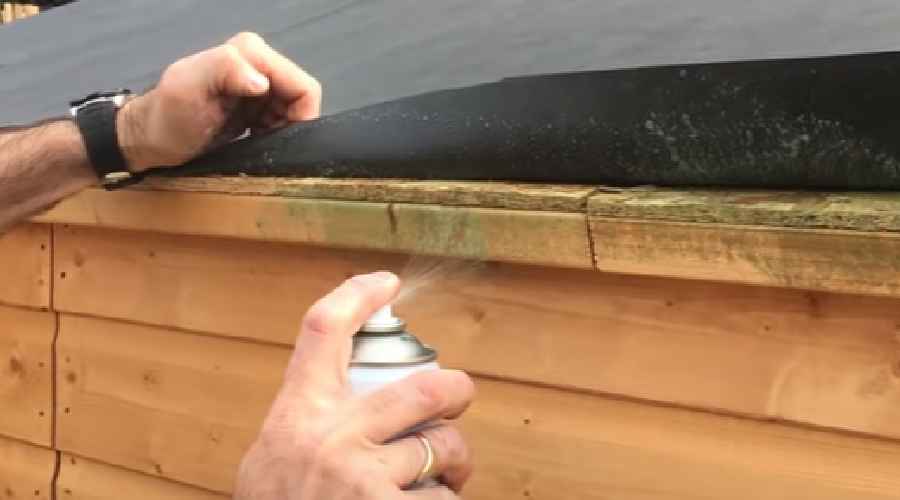
Spray the adhesive evenly over the exposed timber and over the underside of the membrane you folded. Allow to go tacky (use the push finger test to confirm).
Adhere the prepared membrane over the exposed half of the shed roof and use a soft broom to press the membrane down. At this point, press out any visible air pockets and ensure that there is full adhesion.
Repeat on the other side of the shed roof.
Trim the membrane overhang, then complete the installation and seal the corners with the timbers and the Bond n Seal sealant.
For full installation instructions, please refer to the following resources:
Alternatively, we’ve reproduced the guide on this page here – ready for you to view and read online.
About the Author